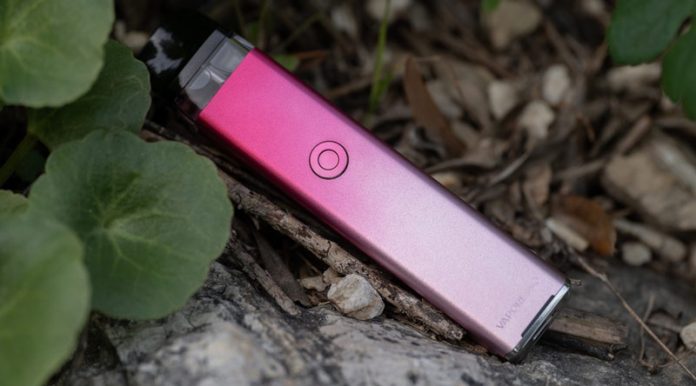
A review today for a pod stick and this is the Xros 3 by Vaporesso. This pod has proved a popular little kit over the last few months following on from others in the Xros (simply pronounced ‘Cross’) series by Vaporesso. The kit was supplied by our friends over at Health Cabin. They stock a very large range of the latest and greatest in vape devices, kits, tanks, e-liquids and vape accessories. To see the best prices over at Health Cabin, make sure you register an account there and are logged in. So let’s get started the Vaporesso XROS 3 Review together!
Packaging & Contents
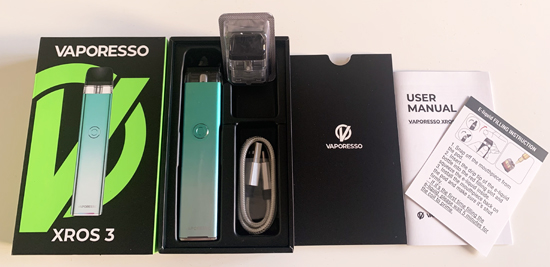
The Xros 3 comes in a sealed cardboard box with an outer sleeve that slides off. Printed on the top of the sleeve is the large Vaporesso logo in green, with the brand and device title in white. In the middle is a large image of the Xros 3 in the colour supplied. On the right side of the sleeve are printed 4 key features of the kit, while on the left side, there is the scratch-for-authenticity label.
On the bottom of the cardboard sleeve are the printed device title, specification, contact info, warnings and barcode.
- Xros 3 Device/Battery.
- 0.6Ω Mesh Pod (pre-installed on the device).
- 1.0Ω spare Mesh Pod.
- Type-C Charging Cable.
- User Manual & e-liquid instruction card (In a Vaporesso branded card envelope).
Vaporesso XROS 3 Device
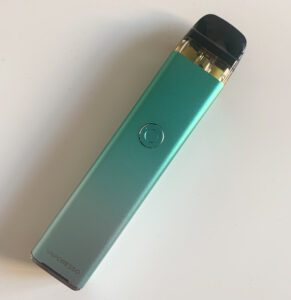
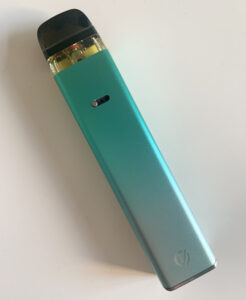
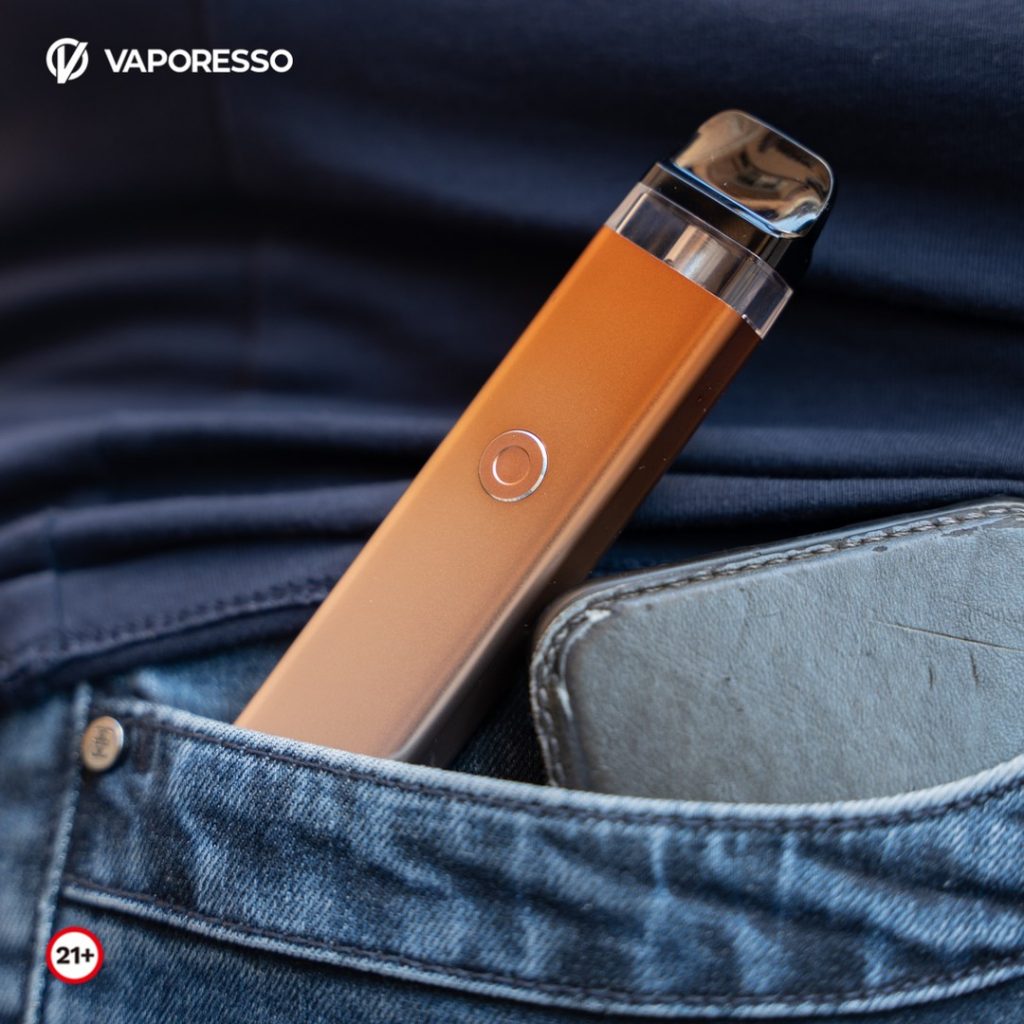
The Xros 3 is a simple pod device running on an internal 1000mAh battery. It measures 115mm in height, 23.6mm in width and a depth of 13.7mm.
On the front of the Xros 3 is a circular fire/power button with printed Vaporesso branding down the bottom above a small LED panel. On the back of the device is a small airflow control slider revealing 2 small holes for airflow when fully open. The bottom has a printed Vaporesso logo.
At the sides, situated near the top is a small airflow hole which coincides with the bottom of a pod that simply inserts at the top and is held magnetically. On the very bottom of the Xros 3 is a Type-C USB charge port.
The device is a pretty simple plug-and-play style. Running on Vaporesso’s AXON chip there isn’t any display screen or up and down buttons for power, the chip smartly sets the best power to the resistance of the pod inserted. To power on or off the device, it is the usual 5 fast clicks of the fire/power button. You can either vape via the auto-draw function or the usual ‘press to fire’ via the button.
Near the bottom of the device at the front is a small LED indicator bar that lights in neon to indicate the vape. This shows different colours depending on battery level also. It lights green if the battery is 70-100%, at 30-70% it lights blue and then red at 0-30% indicating that it needs a charge. During charging, the LED will indicate neon in a breathing pattern. Charge time is fast from a flat battery and Vaporesso claims a 48-hour vaping time with one charge.
There are the usual safety protections built into the AXON chip on the Xros 3, such as puff overtime and short circuit.
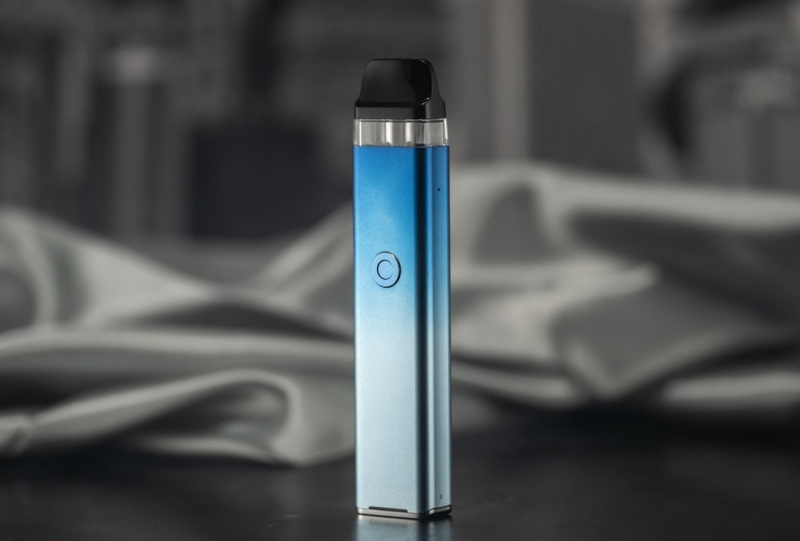
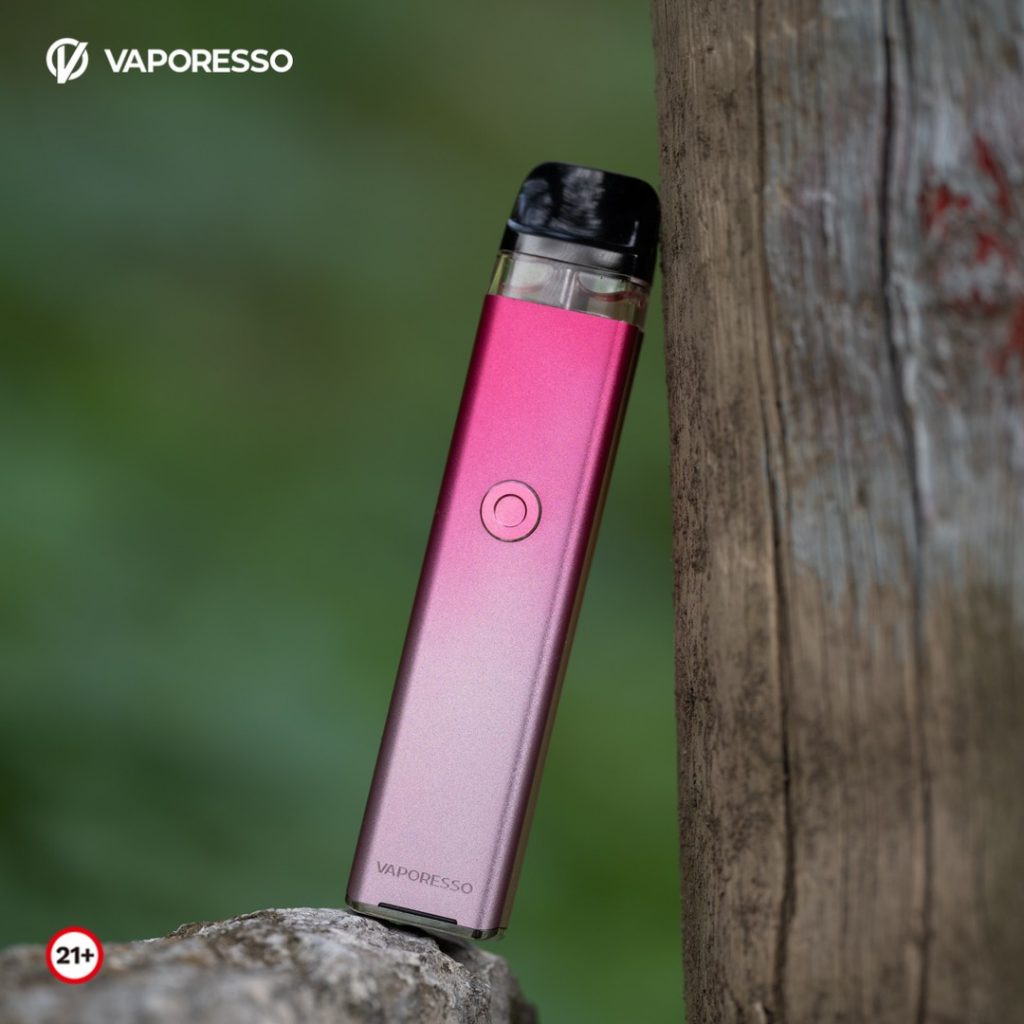
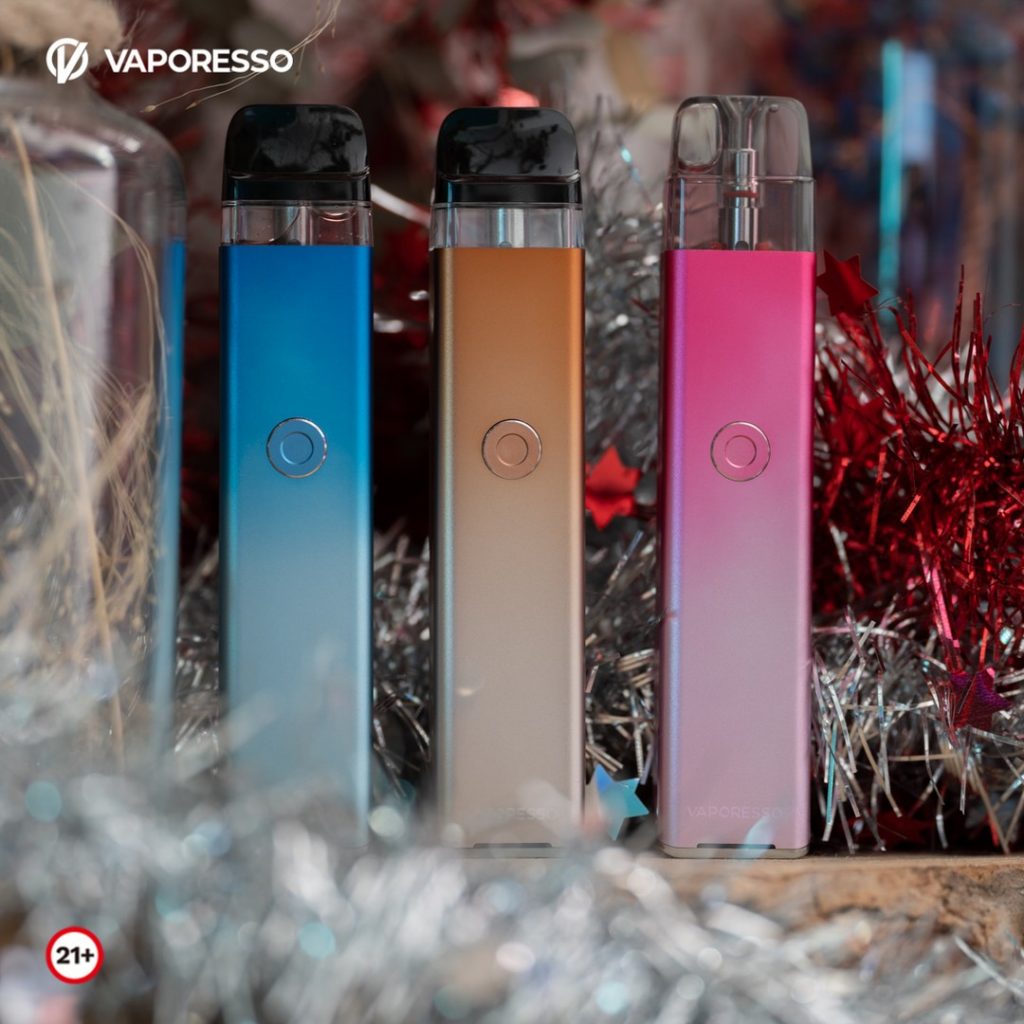
This Xros 3 reviewed is in Mint green colour, but is also available in; Rose pink, Royal gold, Space grey, Sky blue, Black, Icy silver and Navy blue, so there is a good selection of colours to choose from in its shiny finish.
There is also an Xros 3 Mini version released recently too which is smaller and doesn’t include the button or airflow slider.
Vaporesso XROS 3 Pods
The pods used in the Xros 3 are sealed-in coil pods, therefore the coil is sealed in the pod and you add a completely new pod when the cartridge expires. Two pods are supplied in the kit, one of which is a 0.6Ω pre-installed and a 1.0Ω pod sealed in the box. Don’t forget to remove the protector seal at the bottom of the pre-installed 0.6Ω after filling and before use.
The e-liquid capacity of the Xros pods is 2ml and is filled by removing the top mouthpiece that simply clicks away when pressure is applied. You then put the nozzle of the e-liquid bottle into the refilling slot that has the red rubber stopper and fill. Remember not to refill the pod using the middle hole as this is the chamber for the coil. If it’s a new pod in use, wait 5 minutes after filling to make sure the coil is primed to save any dry burns on the cotton.
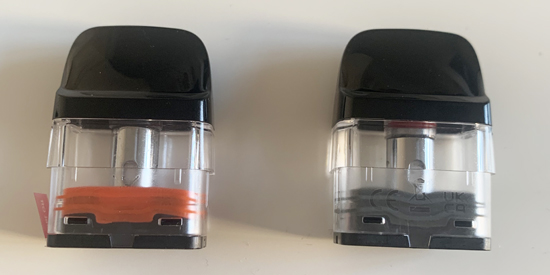
The 0.6Ω pod covers MTL and restricted DTL while the 1.0Ω is more geared towards an MTL vape. Other resistance replacement pods are also available which you can check out HERE at Health Cabin.
The pods are built with PCTG and Vaporesso claims ‘SSS leak resistant technology’ and ‘Corex heating tech’ which gives an accurate and consistent flavour with more longevity.
My Thoughts
I wasn’t let down with the original Xros reviewed some time ago, and this later Xros 3 is the same. It is appealing with its shiny look and with a rugged alloy body means it’s pretty well protected from drops. The button is clicky and the LED is a neat touch at the bottom of the Xros 3. The little airflow slider on the back works nicely so you can choose between fully-open exposing two holes, midway or closing it off completely for a tight vape.
The auto-draw function on this is really responsive so I found I was hardly even using the fire button most of the time. In the past, I’ve found some devices with auto-draw don’t offer as much poke and opt to use the button, but on the Xros 3, the draw is equally as good.
Battery life on the device is great, lasting well over a day with frequent vaping and it charges very fast from a flat battery.
The flavour from the pods is impressive and is equally as good on both pod versions supplied. I used both for MTL but you can get a very restricted DTL vape on the lower 0.6Ω with the airflow wide open. No leaks at all from either pod and only very minimal condensation when consistently vaping.
I’d definitely recommend this kit for something to carry about easily that is no hassle to upkeep. It also stands out as a perfect device for someone that isn’t only looking to cut back or quit the cigs but also as a step-up kit for a disposable vaper. To pick up the Xros 3 Kit, head over to Health Cabin via the links at the start of the review.
This review was written by Toby from The Vape Reviews, click to view original review there with more photos.


