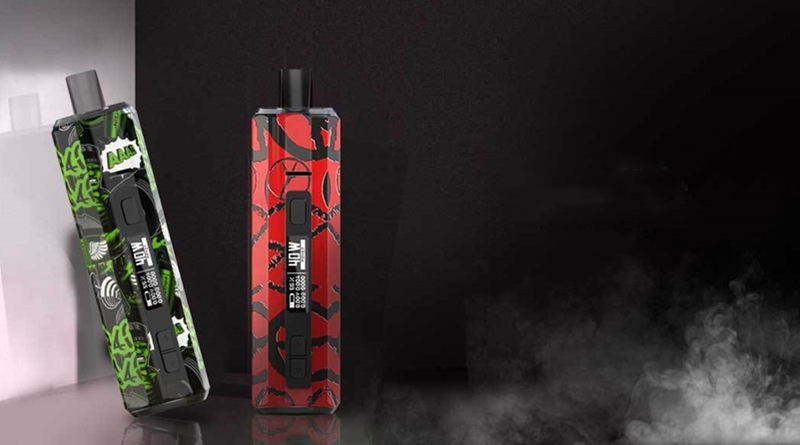
In this review i take a look at the Boxer AIO 40W Pod Mod Kit from Hugo Vapor. The Hugo Vapor Boxer AIO 40W Pod Mod Kit was supplied for the purpose of this review by the Healthcabin.
Introduction
Hugo Vapor have been around a while and are best known for their Boxer, Rader and even Boxer Radar box mods and BF devices. Here we have the Boxer AIO Pod Mod, the Boxer AIO Pod Mod is a 40w power only device with 1500mAh built in battery. It has adjustable airflow, Type C 1A charging and is compatible with Smok RPM coils, let’s check it out!
- 1 x BOXER AIO 40W Battery
- 1 x BOXER AIO Pod
- 1 x BX 0.4ohm Mesh(Pre-installed Coil)
- 1 x Extra 0.4ohm Mesh
- 1 x Type C USB Cable
- 1 x User Manual
- 1 x Warranty Card
- Battery: 1500mAh Lithium battery (Included)
- Material: Zinc Alloy
- Wattage: 5-40W
- Input Voltage: 3.3v - 4.2v
- Output Voltage: 0.5v - 4.2V
- Standby Current: <20uA
- Resistance range: 0.15 - 3.0ohm
- Type-C Charging: 5V/1A
- AIO Size: 26.5 x 105mm
- Weight: 125g
- Coil Resistance: 0.4ohm Mesh(Pre-installed)
- Pod Material: PCTG
- Pod Capacity: 3.5ml (2ml TPD)
- Pod-Rotating adjustable airflow for MTL/DL vape
- Pocket size for easy carrying in your Pocket
- PCTG food-grade material for safe vape
- Boxer Mesh 0.4ohm coil head
- Compatible with Smok RPM coil heads
- Colours/Designs: ArmyGreen, PowerGym, RedArrow, Swag, NG
Aesthetics and Ergonomics
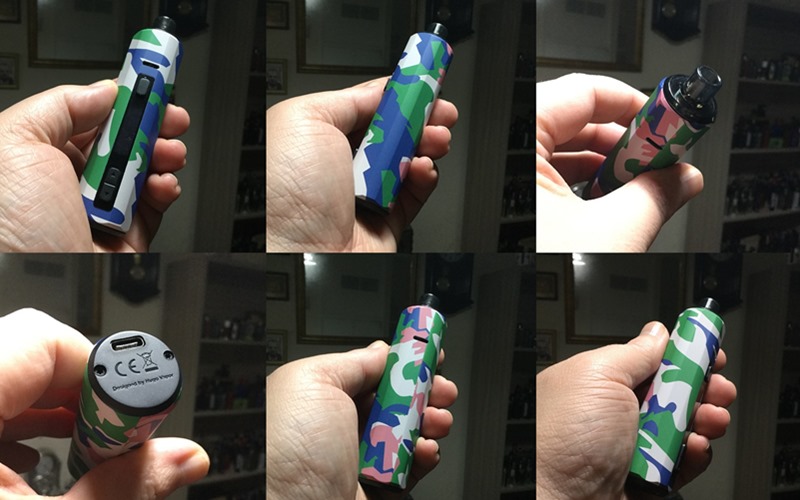
The Boxer AIO Pod Mod came in cardboard box packaging and on opening i found i had received the ArmyGreen version which is a camo design. The device comes in 5 different colourful and busy designs which are ArmyGreen, PowerGym, RedArrow, Swag and NG.
The device has a Zinc Alloy construction with the designs having a rubberised texture, it’s quite short with only the fixed mouthpiece protruding outside the pod bay and its decagon, almost tubular form factor make it an ergonomic, portable device.
Both front and back towards the top we have airflow slots and also on the front we have a narrow elongated Black panel. On this panel top we have a fire button and bottom the navigational rocker, between the fire button and rocker we have a narrow elongated screen. Moving to the base which is a plastic section we have branding, safety marks and a Type C USB port.
The Pod
The pod is cylindrical and has a fixed mouthpiece rather than a removable drip-tip. The pod is also too darkly tinted for my liking and the complete pod apart from the mouthpiece gets inserted into the device so it needs removing to check your e-liquid level. We have a removable silicone plug (stays attached to the pod) on the side of the pod with an arrow showing where to lift. Moving to the base and we have the cylindrical (word of the day) opening for the coil head to get press fitted into place and each side of the base protrudes to the base of the coil head, we have 3 round magnets on each protruding side!
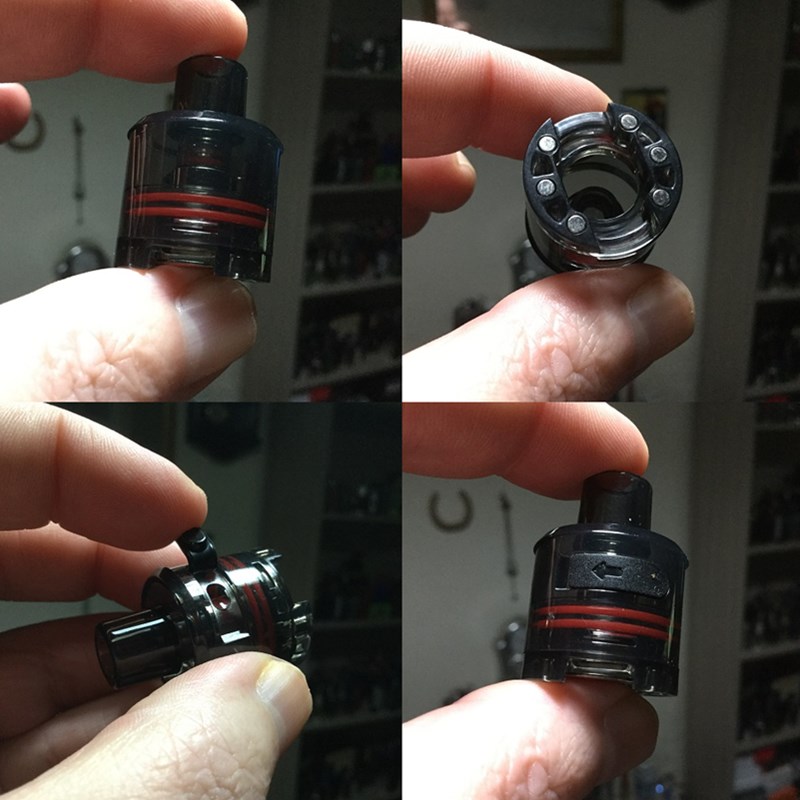
To fill you just lift up the silicone flap which unplugs the generous fill port. You fill the pod with it on it’s side but it can be tilted to fully fill. I had no issues filling which was mess free but would much prefer top-fill, the standard pod holds 3.5ml of juice and of course 2ml for the TPD pod!
The Coil Heads
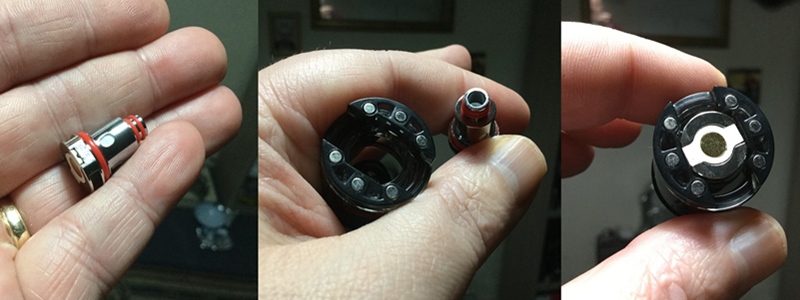
There is just the one BX (Boxer) coil head available which is the 0.4ohm mesh coil head rated for 25w which looks exactly like the RPM 0.4ohm coil head apart from BX being etched on to it. 2 of the BX coils are included which just get press fitted into the pod via the round opening in the pods base. To install correctly so the adjustable airflow will work correctly line up the airflow inlets at the base of the coil head with the cut-out sections at the base of the pod.
A big pro for the Boxer AIO Pod Mod pods is they are compatible with all standard RPM coils ensuring availability and giving several options!
Fitting The Pod
Looking into the cylindrical pod bay we can see the Gold plated, spring loaded contacts on a raised platform. The inside perimeter has a magnetic ring which will attract the six magnets on the base of the pod, finally we can see the airflow slots letting light into the bay. The magnets on the base of the pod might be little but we have 6 of them and they are very strong, in fact it takes quite an effort to remove the pod which is a slight pain as the pod needs removing quite often to check the e-liquid level!
The Airflow
Both front and back towards the top of the device we have airflow slots to allow air to the coil head inlets. The pod has protruding side sections at its base with sections between the same size has the coil head airflow inlets being cut-out which are also the same size as the slots. When installing the coil head you line up the inlets with the cut-out sections and when these are lined up with the outside slots we have fully open airflow. Then simply rotate the pod to open or close the airflow, it works pretty much the same as on a standard tank with bottom airflow rather than it’s the inside slots (which is the cut-outs on the base of the pod) that’s turned and the outside slots fixed!
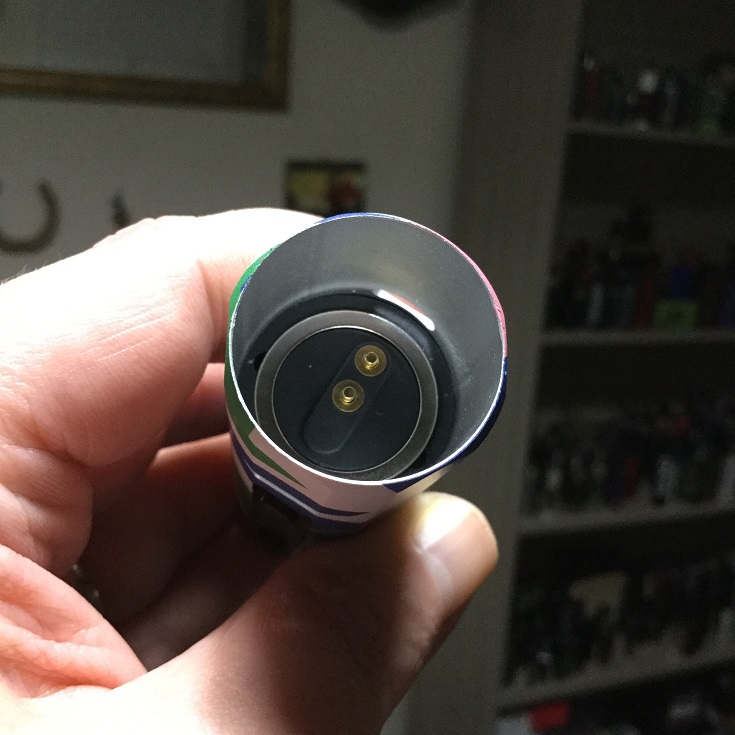
Hugo Vapor Boxer AIO-Pod bay 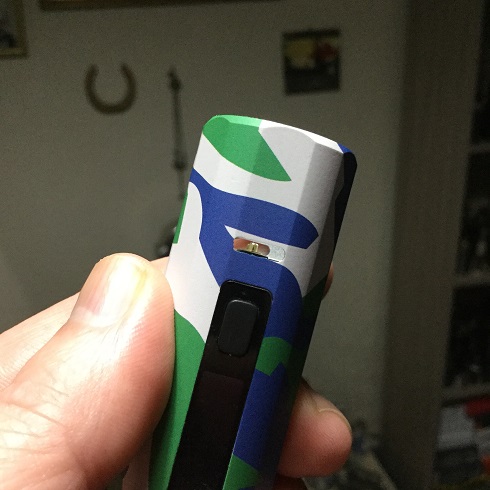
Hugo Vapor Boxer AIO-Airflow 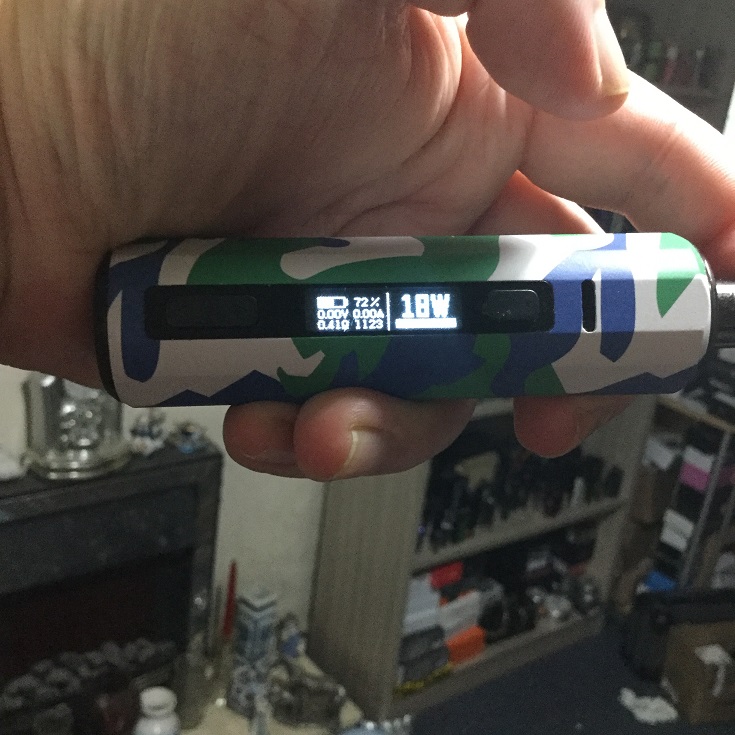
Hugo Vapor Boxer AIO-Display
Navigating The Device
The device is the usual 5 clicks of the fire button to turn on and 5 clicks to turn off and once on pressing up and down together locks the rocker but the device still fires.
That’s basically it, the wattage adjusts in 1w increments from 5w to 40w (doesn’t round robin) but the device has no other modes or menu settings. We do have a puff counter but it doesn’t seem possible to reset so i assume after reaching 9999 it automatically changes to 0000 and starts the count again!
Protections
I always list all the protections which i take either from the manufacturers website or the user manual. This will have the usual safety protections but i can’t be specific because i can’t find them listed either on the website or in the manual!
Charging
The Boxer AIO Pod Mod has Type C USB which is good to see but only a 1A max charge rate which i found charges the device in about 2 hours. The supplied Type C cable is ridiculously short and i also don’t like the port being on the bottom of the device as i like devices to be standing up while charging, not all doom and gloom though, it does support pass-through!
My Experience Using The Device!
It started very promising with the 0.4ohm coil heads which not only look the same as the RPM 0.4ohm coil heads but from the identical flavour and performance i believe they are the same just rebranded but don’t hold me to that. The disappointment that only one Boxer coil is available was short lived when i found RPM coils are compatible, just wish there was a decent MTL option because the adjustable airflow works great.
The device feels great in the hand and is a compact small device so easily slips into the pocket and i love the information given on the old school, bright display. Type C USB is good to see and it supports pass-through but despite Hugo Vapor claiming a full charge within 90 minutes it actually takes 2 hours.
Battery life is very good as i was using the device at 18w and got between 450 and 500 puffs with each charge but here comes my first major con. I actually thought the battery life was amazing as i hit 480 puffs and the battery percentage was still at just over 20% but after only a few more vapes the battery life had vanished and was 0%. I monitored this and the percentage goes down slowly as you use the device as i would expect but every time went from about 20% to 0% in just a few puffs!!!!!
The magnets on the pods are very strong but this caused the problem of on one occasion the magnetic ring came out the pod bay with the pod so for a period of time the ring could only get press fitted into place, eventually the press fitting was not snug enough and the pod with ring would not secure well enough to allow the contacts to read resistance and that was the end of me testing the device. It could just be not enough glue or whatever keeps the ring in place was used on mine and won’t be a common problem but i can only report my experience and yes i can get some glue and put the ring back but hardly the point!!!!
It’s a pity because i was enjoying the draw and flavour i was getting from the device and was impressed with the adjustable airflow, also once knowing about the issue with battery life showing as 20% but running out almost immediately i could live with that especially as battery life in general was very good.
Other minor cons are the fact there is only one option of the Boxer coil head so you get two of the same rather than different ones to try and you need to remove the pod to both check e-liquid level and fill. 2 hours seems a little slow charging and the supplied cable is ridiculously short!
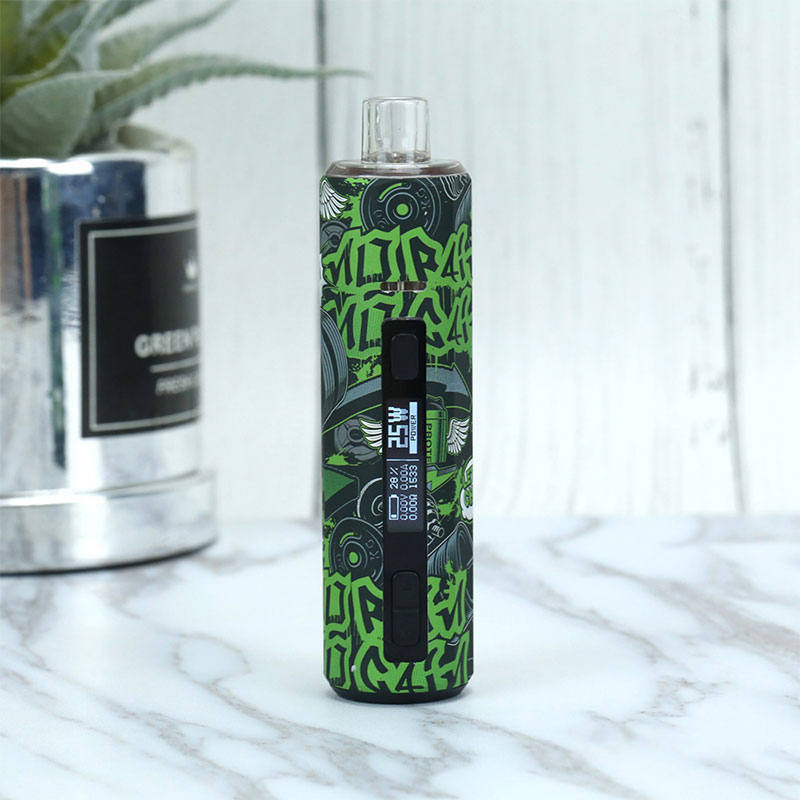
Hugo Vapor Boxer AIO-PowerGym 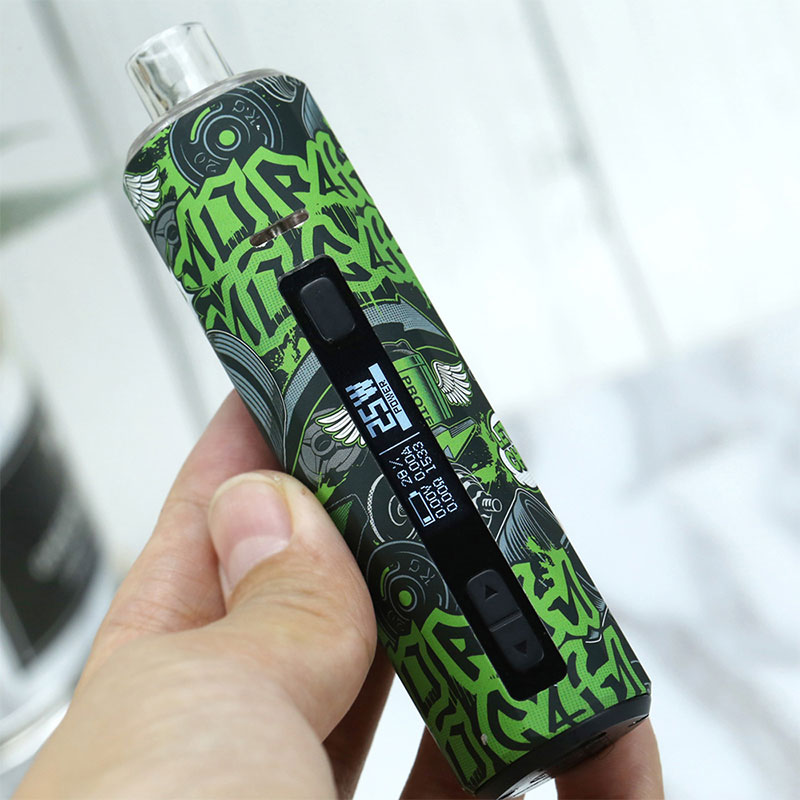
Hugo Vapor Boxer AIO-PowerGym 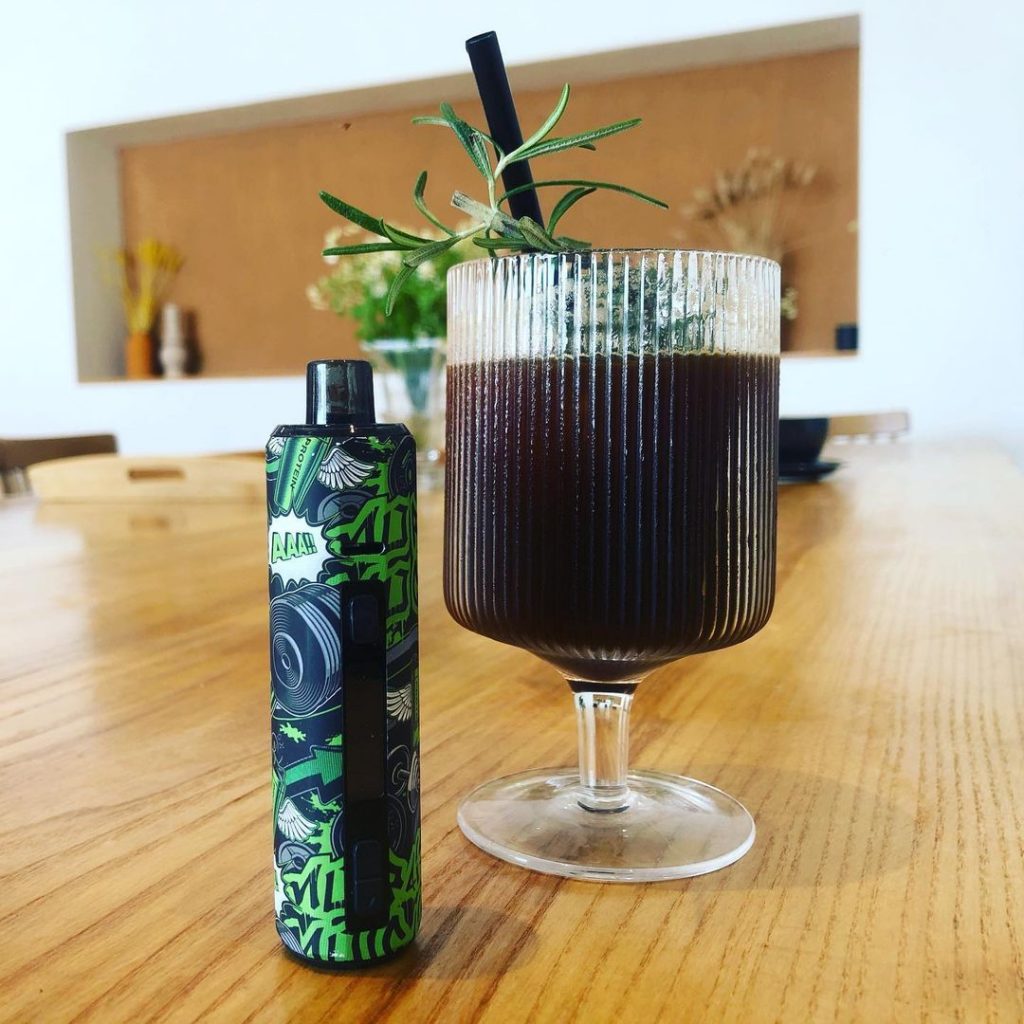
Hugo Vapor Boxer AIO 40W Pod Mod-1
Likes
- 5 different design options
- Rubberised finish giving good hand feel
- Ergonomic and portable
- Adjustable airflow (works well)
- Pod fits very securely (until metal ring became dislodged)
- Very good flavour from BX mesh coil head (i believe its a rebranded rpm coil head)
- Compatible with standard RPM coil heads
- Filling was quick and mess free
- Old school display, bright and sharp and plenty of info
- Battery status given as both a bar and percentage
- Efficient, got really good battery life
- Type C USB
- Supports pass-through
Cons
- After little use the magnetic ring started coming out with the pod.
- The above eventually meant the device couldn’t be used
- Displayed battery percentage goes from about 20% remaining to 0% in just a few vapes despite overall good battery life
- Pod too darkly tinted
- Need to remove pod to check juice level
- Need to remove pod to fill
- Fixed mouthpiece (can’t fit your own drip-tip)
- 2 hours to charge
- Ridiculously short cable
- USB port on base of device (can’t charge standing up)
- 2 of the same coil heads included (would prefer 2 different)
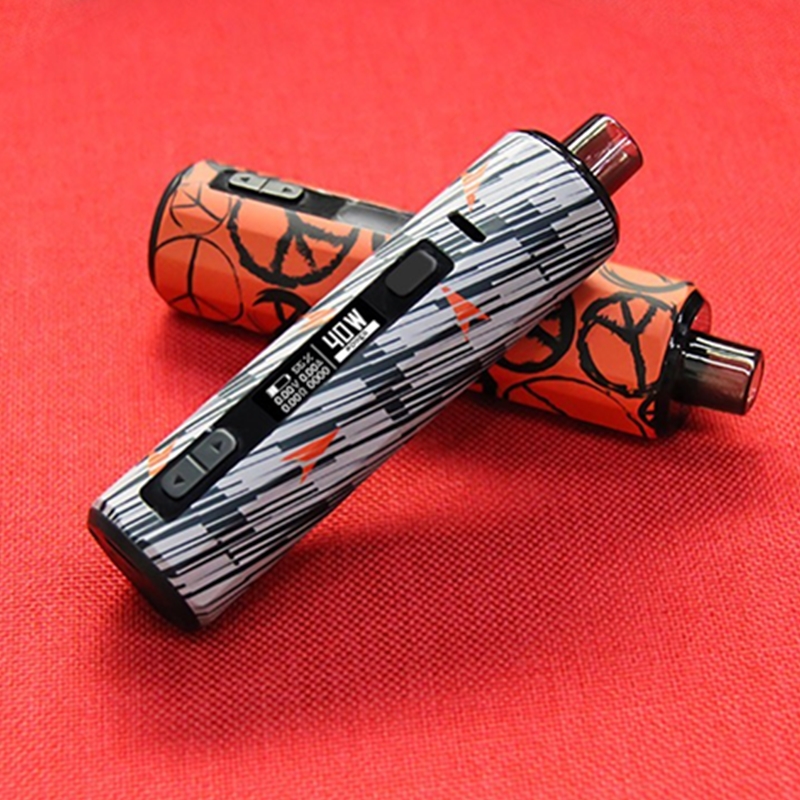
Hugo Vapor Boxer AIO-NG&RedArrow 
Hugo Vapor Boxer AIO-PowerGym 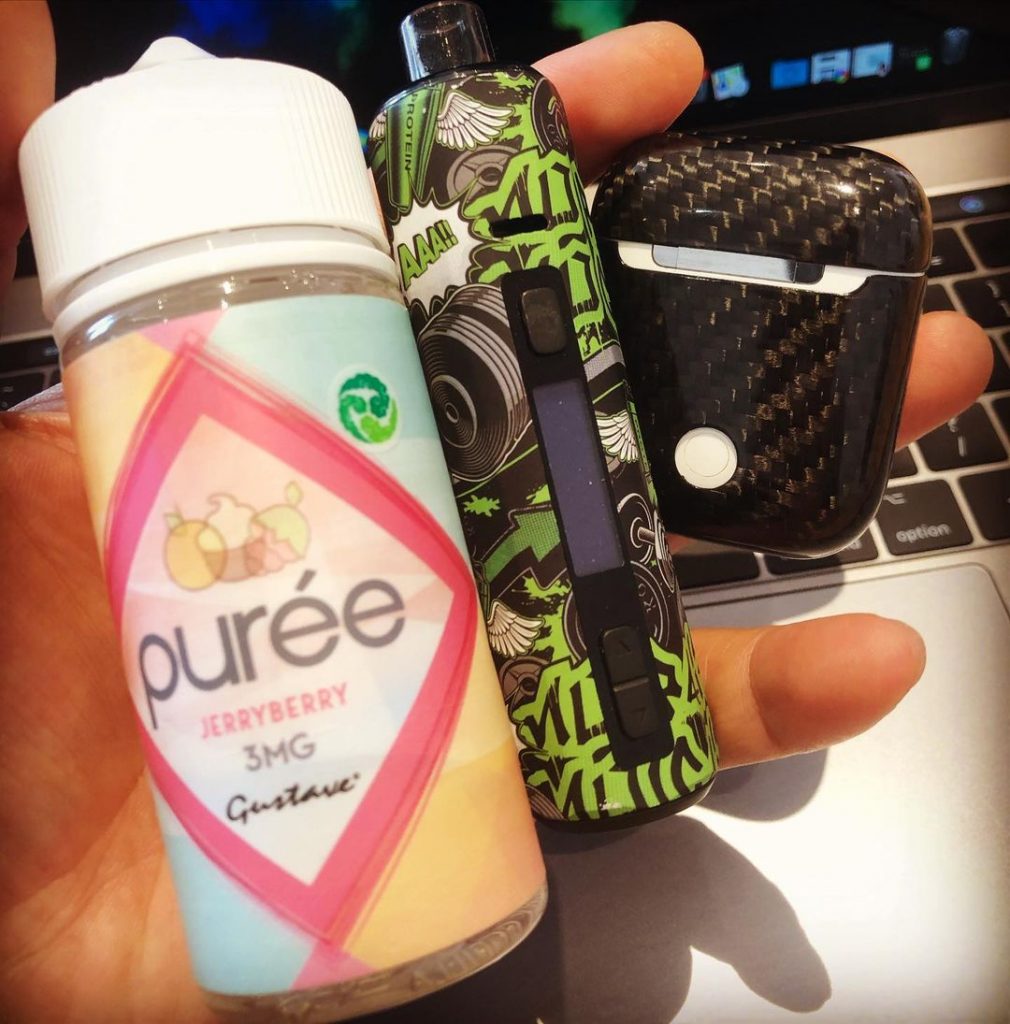
Hugo Vapor Boxer AIO-PowerGym
This amazing review was written by Tim from ECF, vapingunderground & reddit and other forums, click to view original review there with more photos.


