
Ayo! Welcome back to another Z-Lee review. Today we’ll be taking a peek at the Centaurus M200 Mod by Lost Vape. The mod has been out on the market for a few months now, but I particularly wanted to get my hands on it for a few reasons. First and foremost, it rocks an updated Quest 2.0 chip that has more of what I’m (and likely you are) looking for over the standard or original Quest 2.0 chip found in the Thelema 200W, Centaurus BF Squonk, Ursa, Cyborg, and even the Grus which is pretty much the same, except it has a 7V cutoff instead of the extended 8V cutoff found in the Quest 2.0 chip. The physical on/off switch is a huge plus, and this mod has a jog wheel which is brand new to me. The updated Quest 2.0 chip found in the M200 now has a 10V cutoff which broadens the application of this mod while taking out all of not-so-used stuff like Bypass, Custom Curves, and TCR Modes for the few and far between Temp Control vapers. I’ll get more into this further in the review. Let’s get into the Lost Vape Centaurus M200 Mod Review together!
I want to give a gracious shoutout to Sue over at HealthCabin for providing me the M200 mod to do this review. If you’d like more information, please visit HealthCabin’s page here. As always, it will be conducted in a fair, honest, and unbiased manner.

Quick Overview
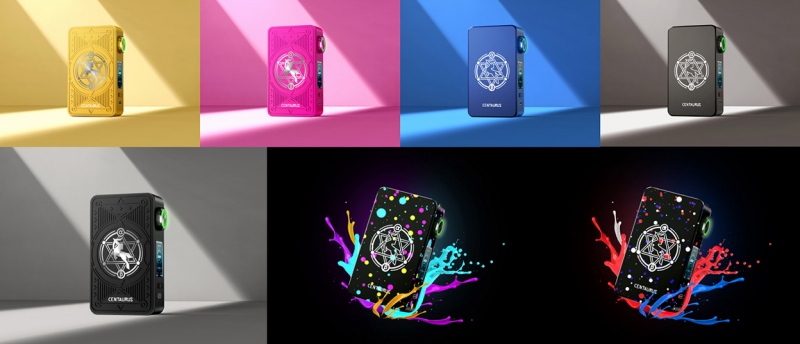
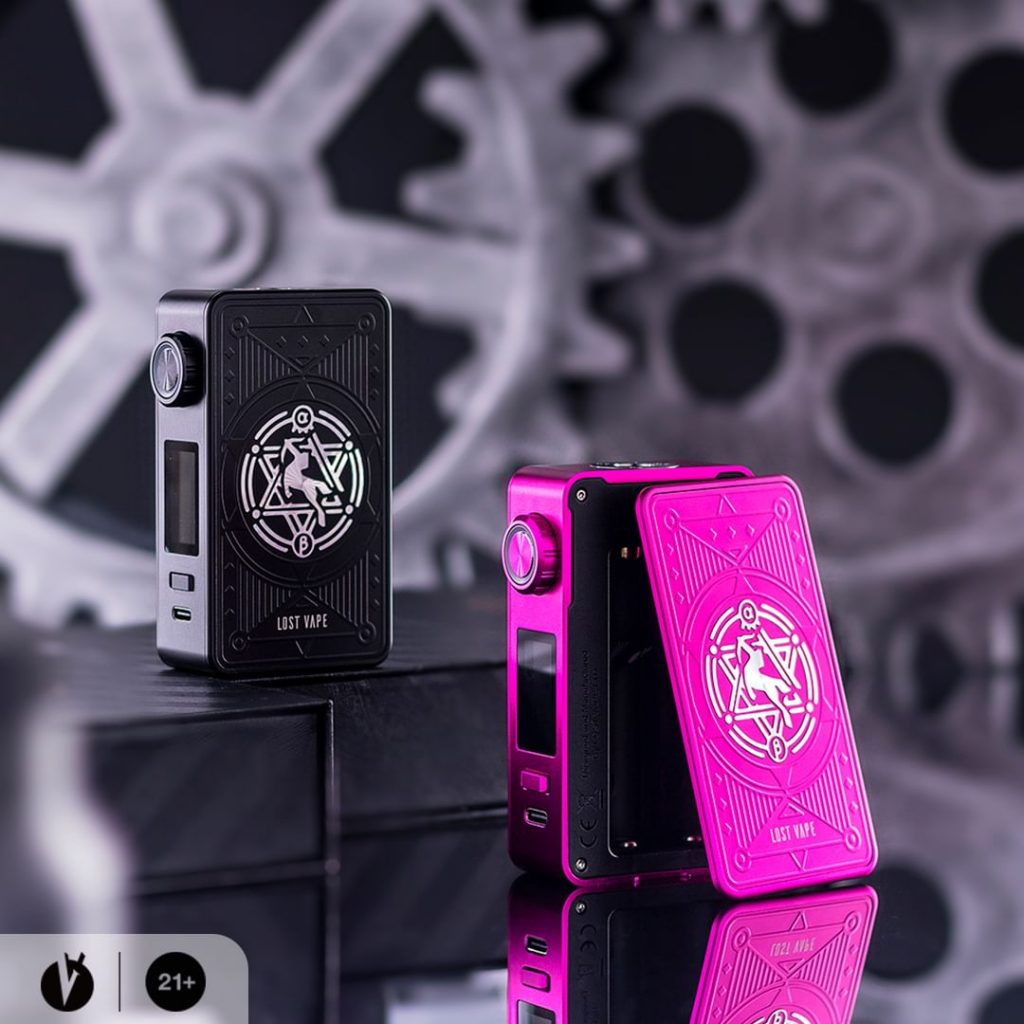
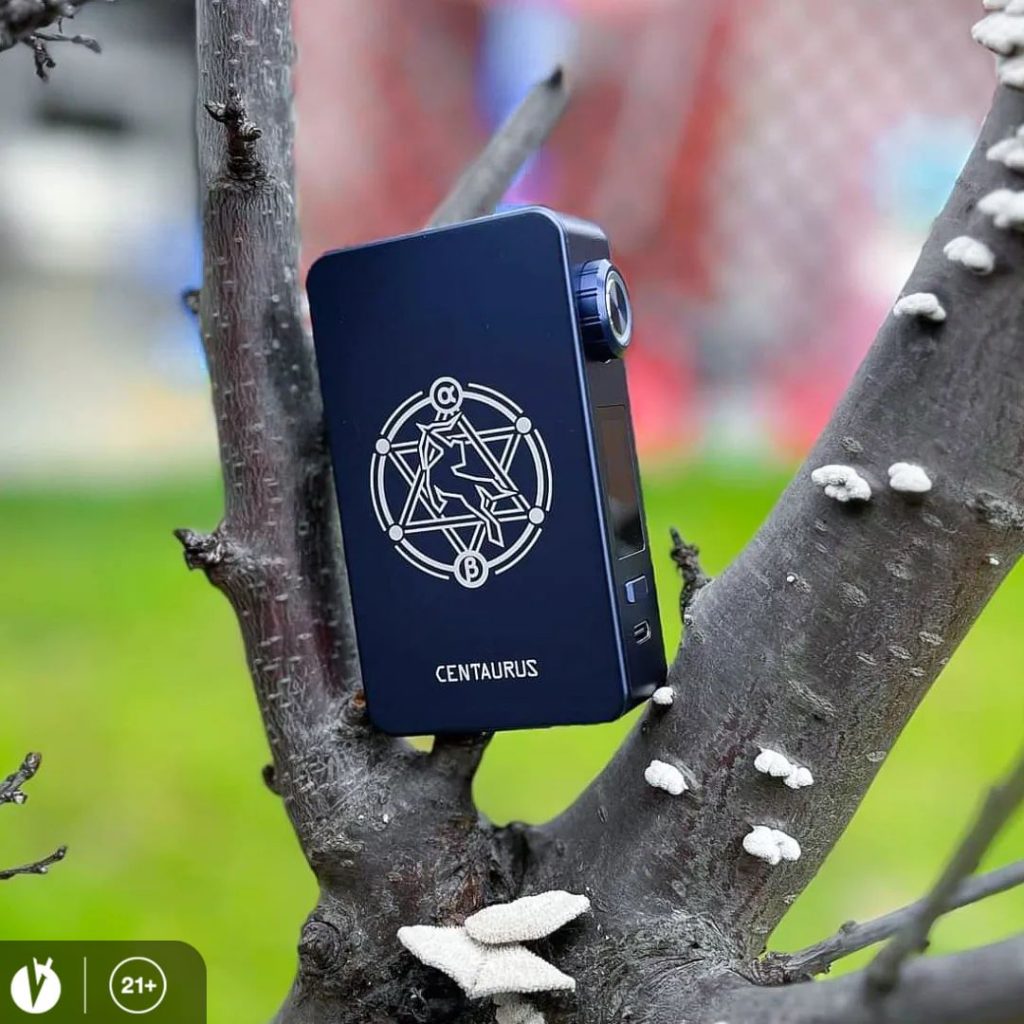
There are several color options with different side panels to choose from including Textured/Embossed and Limited Editions:
- Midnight Blue
- Gunmetal Gray
- Golden Knight (Textured/Embossed)
- Galaxy Black (Textured/Embossed)
- Pink Planet (Textured/Embossed)
- Splatoon (Limited Edition)
- Dying Light (Limited Edition)
Key features found in the M200 Mod:
- Jog Dial
- New Quest 2.0 Chip
- Physical On/Off Switch
- Brand: Lost Vape
- Unit: 1 Set
- Dimension: 93*56.7*26mm
- Power Range: 5-200W
- Quest 2.0 Chip
- Input Current: 1A-40A
- Output Voltage: 0.7V-10V
- Battery Voltage: 3.0V-4.2V
- Battery: Dual 18650 Battery (Not Included)
- Body Material: Aluminium Alloy & Stainless Steels
- Input Voltage: 6.0V-8.4V
- Screen Pixel: 0.96 inch 80*160
- Type C Fast Charging
- Replaceble Side Panel
- Package: Gift Box
The Box Mod Kit (top) is what this review covers. The full kit comes additionally with the Centaurus Sub Ohm Tank, 2 coils, a spare glass, and a spare parts pack.
Review Testing & Observations
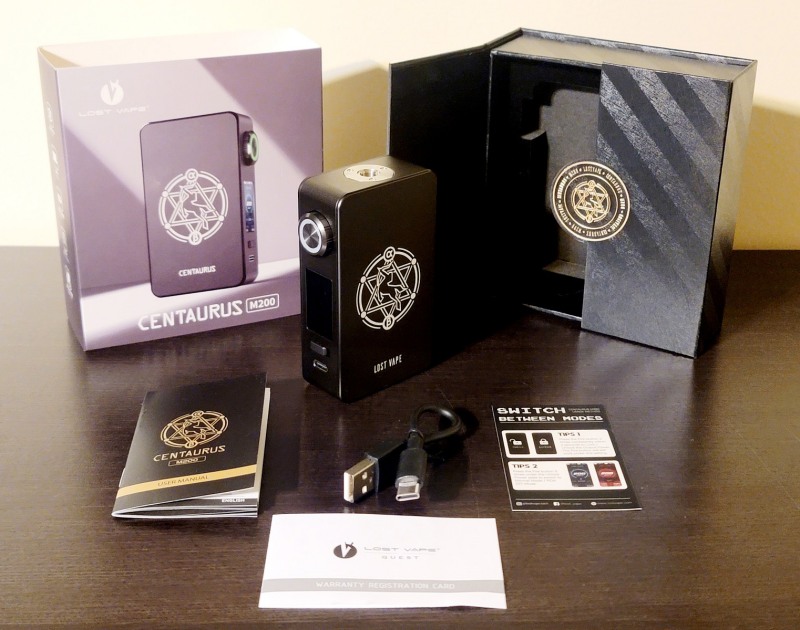
The Lost Vape Centaurus M200 comes lavishly packaged with a user manual, brief explanation of Modes of operation, as well as a warranty card and a very short USB Type-C charging cable. Lost Vape’s presentation is usually pretty spot on for those that appreciate packaging design.
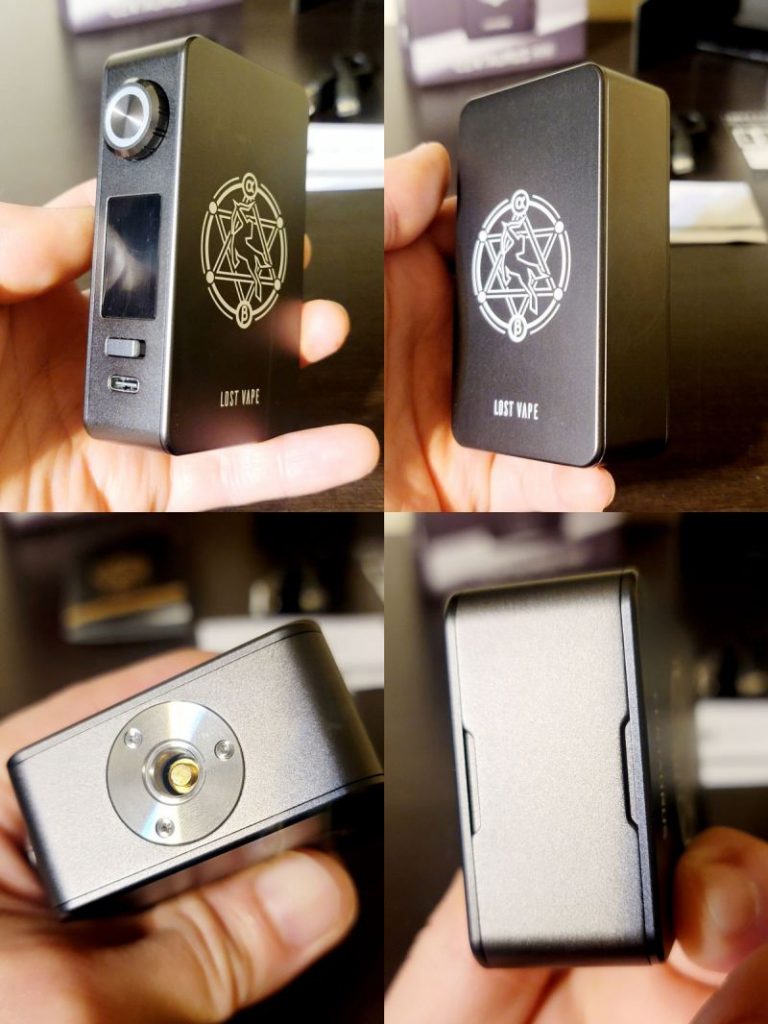
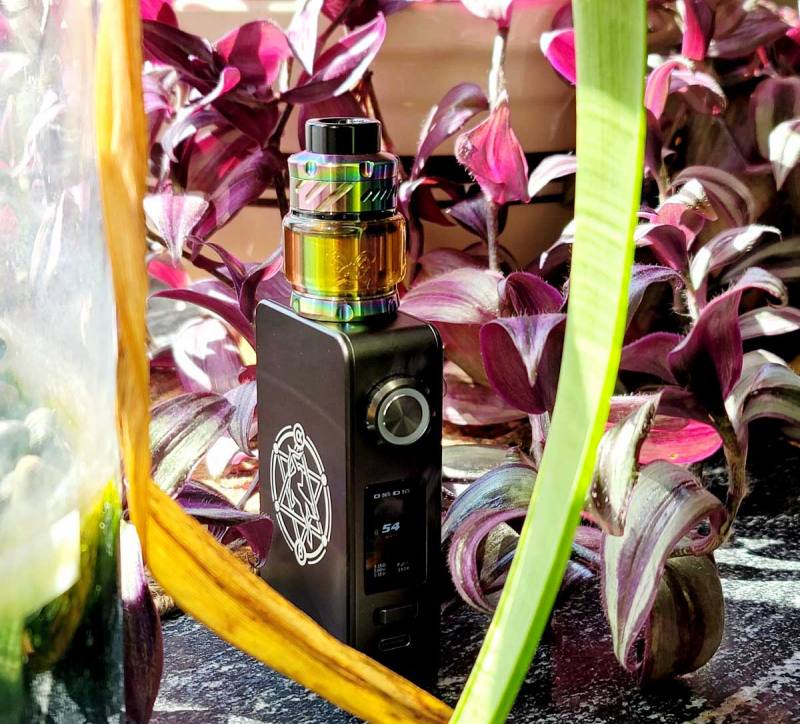
I received the Gunmetal Gray colorway as you can see from above. On the front of the mod is where you’ll find the LED jog wheel for adjustments, the 0.96 inch UI display, the physical on/off switch, and the USB Type-C port.
The fire button has an LED embedded into the semi-transparent ring surrounding it. This lights when firing the mod changing with the remaining battery life. The fire button itself is a bit mushy and lacks the usual “click”ing sound some people have become used to, however it is very responsive and can be pressed from many different angles.
The top of the mod extends to 26mm in width and has the standard spring-loaded 510 gold/brass-plated connector plate fastened down by three T5 Torx screws. Around the base of the 510 connector you can see a black O-ring to help seal any juice or leaks from dripping down into the chip or battery housing. Below, I provided a better look at how the 510 connector is separated and “self-containing” from the vital circuitry below it.
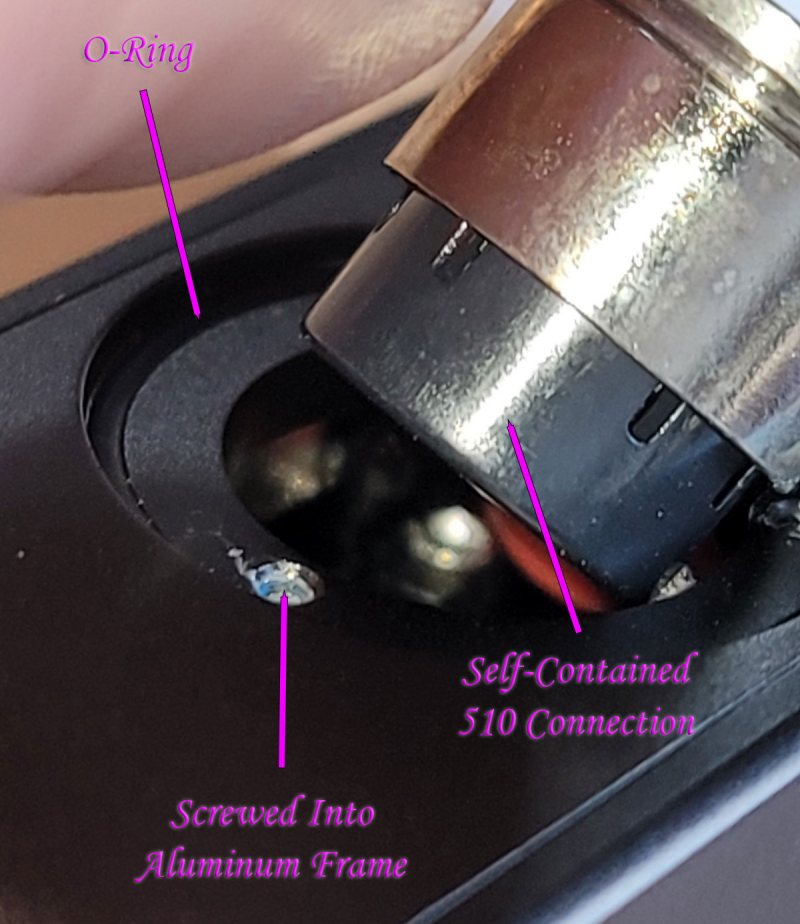
The 510 platform is screwed into the aluminum frame. This is not the most durable build for what you’d consider an IP68-rated product, but the M200 isn’t IP68-rated which makes this more or less fine. It’s far better than being screwed into a plastic frame like many companies are doing now to save on production costs and making the product lighter. Remember, lighter is hardly ever “better” when it comes to mod durability.
There is an O-Ring present just below the 510 plate sealing it from juice spills and leakage. As mentioned above, the 510 connection is housed in its own self-contained miniature bucket for a lack of a better word. This keeps any juice that might permeate the O-Ring surrounding the 510 connector from seeping down into the chip and battery compartment.
Both side panels sit fairly flush and have minimal tolerance for movement. There’s a groove built into the bottom of the frame to easily remove the side panels when changing out batteries. A better view of these panels are shown below.
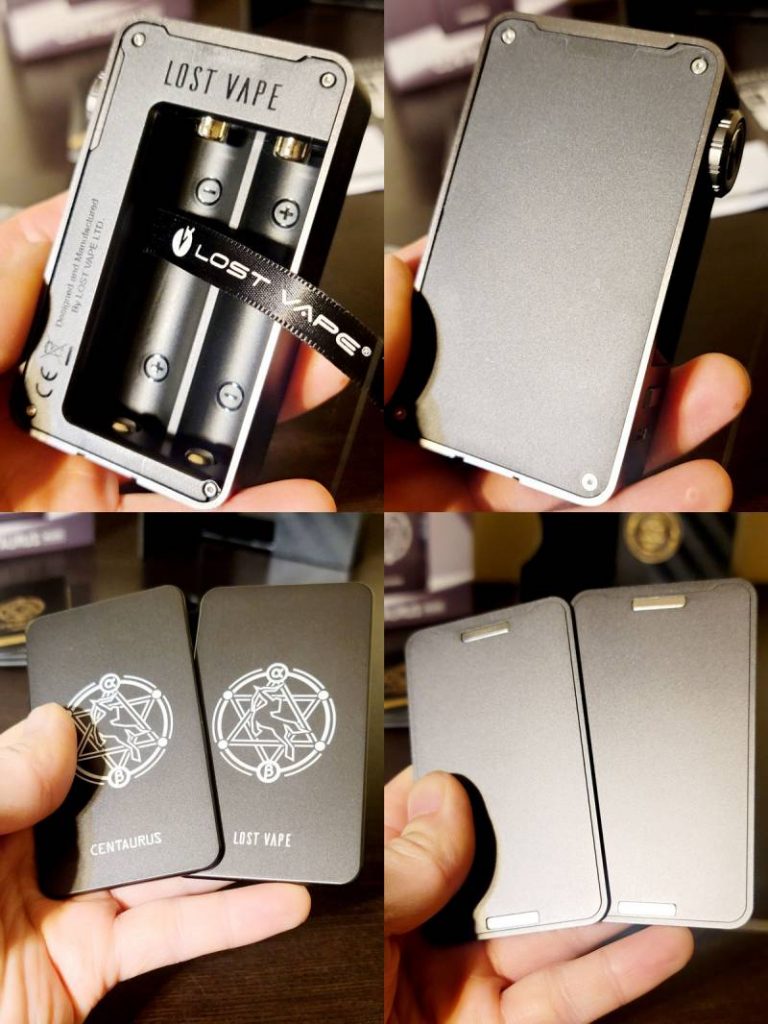
The battery sled holds two 18650 batteries in a series configuration (one positive end up, one positive end down) and has the orientation indicators clearly marked. Both battery connectors along the top of the mod are spring-loaded with a decent amount of resistance to keep the batteries from jiggling around, but also loose enough so that inserting batteries isn’t a chore.
The side panels have exposed magnets which have proven to not be the best method for plate covers in other mods simply because the magnets can fall out if/when the mod gets hot enough. Leaving your M200 in the car on a hot sunny day will definitely test the integrity of the adhesive used to hold the magnets in. Nevertheless, I’ve not had a single problem with them so far. Both side panels are identical in size and shape, so they are interchangeable. This applies to other M200 mods making each side panel cross-compatible with one another.
Updated Quest 2.0 Chip
Quite possibly the best part about the M200 is the optimized User Interface. For most vapers, Temperature Control, Bypass, Custom Curves, etc. are all innovations that hardly ever, if at all, get used. More or less, the Centaurus M200 has two different power modes which are almost the same. The only difference really is that the DIY Mode shows the voltage output when firing the mod. My biggest complaint with the original Quest 2.0 chip was that the voltage was never shown in any fire mode other than in Variable Voltage mode which gives off a different flavor vape in my experience. As well as the original Quest 2.0 chip performed, I wasn’t a fan of it for this very reason – I like to know how my mods are behaving and I would hope you would like to know as well. People can’t help you diagnose your issues if you have no information to give them.
Wattage control is very smooth and ultra simple. The jog wheel infinitely travels clockwise to increase the wattage and counter-clockwise to decrease the wattage. It also round-robins from 5W up to 200W and vice versa. The wattage increments below 40W are single watt intervals. Between 40W and 98W, the increments increase in 2W intervals. From 100W to 200W, the intervals increase to 5W. This takes some of the labor out of having to repetitively crank on the jog wheel to make big adjustments and works very well. This works the same in both Normal Mode and DIY Mode.
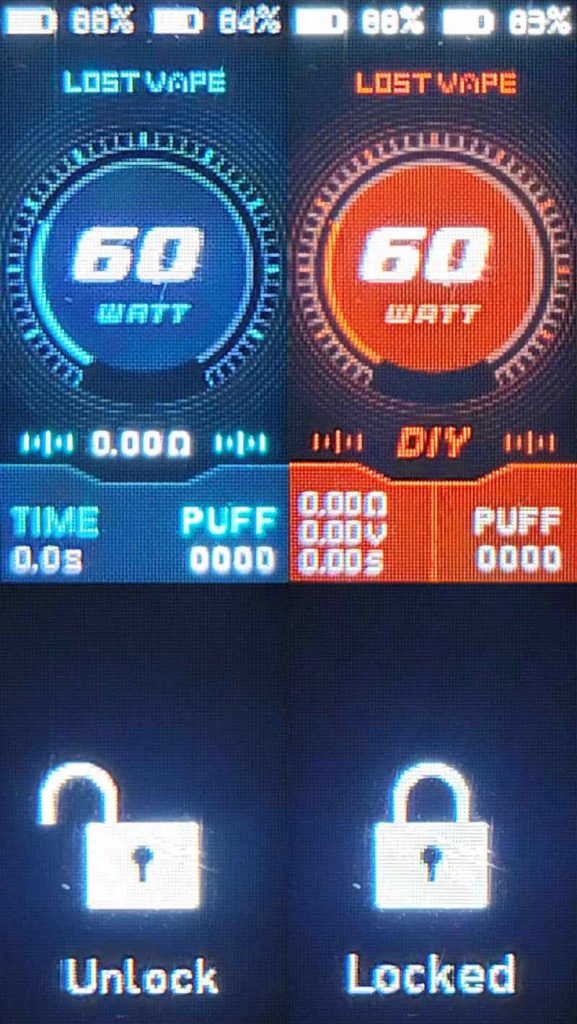
UI Controls
5 clicks of the fire button – Switches between Normal and DIY Modes
3 click of the fire button – Locks/Unlocks the jog wheel from making adjustments (fire button still fires)
(Yes, it’s that simple!)
The LED lighting the fire button indicates the following battery status when firing or charging: 0-19% is red, 20-39% is white, 40-59% is blue, 60-79% is green, and 80-100% is purple. This just helps to remind you where your batteries are at and adds a tad bit of flare.
The specs state that the voltage output goes up to 10V which has been verified with a 0.8 ohm Innokin Z-coil. I do not have a coil that’s 0.1 ohm, so I didn’t test the amp output to verify that it hits 40A – I’m going to say it’s close enough.
The physical on/off switch is solely used to turn the device on and off since the fire button functions have been repurposed to change firing modes. You will NOT be able to fire the mod when this switch has been turned off making it a very quick and easy way to stow your device w/out worry of it accidentally firing. I’ve stated this before and I’ll state it again – the physical on/off switch is a Godsend and I hope to see it in nearly every regulated mod from this point forward.
Pros/Cons/Considerations
Pros
- Solidly built
- Side panels have very little wiggle
- Lightweight (aluminum alloy)
- Quick firing
- Ultra-simple UI functioning
- 7 completely different aesthetics
- USB Type-C
- No rattle
- 10V output (boosted chip)
- Hits its advertised specs
- Sits sturdily
Cons
- None
Considerations
- Dual 18650
- Jog wheel adjustment
- No Temp Control (TC) options
- Very boxy hand-feel
- Fire button is a bit mushy, but responsive
- Side panels with magnets
- Aluminum alloy is light, but dents fairly easily if dropped
Rating
9.5
I’ve had a proper amount of time to test this device which is quite rare these days. I’m currently almost at 1600 puffs and there hasn’t been a sign of a single hitch what-so-ever. There really aren’t any cons to the Lost Vape Centaurus M200 unless you find any of the “Considerations” listed above to be negatives. I think this mod has a ton of great features and out-performs the original Quest 2.0 chip unless you’re a TC or Custom Curves user. The fit and finish gives this device a top-notch feel and a uniqueness that makes it one of a kind. I would highly recommend this device, especially at its current price in comparison to other dual 18650s.
Again, I want to thank Sue and HealthCabin for providing the Centaurus M200 for review and giving me ample time to test it out! Thanks for reading, and hopefully I’ll catch you in the next review. Cheers!

This review was written by Zach == Z-Lee from ECF, click to view original review there with more photos and more details.


